In this story:
Whether you’re spinning on the wheel at pottery classes in Los Angeles or experimenting with hand building at home, learning new pottery techniques is a fun and rewarding way to get creative with clay in 2026. Sink your hands into squishy clay and you’ll immediately understand why this hobby is so popular. It’s meditative, tactile, and endlessly rewarding.
In this guide, we’ve put together a list of 31 beginner-friendly pottery techniques that will help you build foundational skills, experiment with forms, and explore surface decoration. From hand building or wheel throwing to glazing or carving, there’s a technique here for every budding ceramicist.
Hand building techniques

No wheel? No problem. Hand building is the most accessible way to start working with clay. These techniques don’t require a pottery wheel, just your hands and some basic tools. If you’re learning in a studio, you’ll likely start with hand building. It’s an easy, low-pressure way to get used to clay and create beautiful, one-of-a-kind pieces.
- Pinch Pot
The simplest form of pottery. Shape a ball of clay with your fingers, pinching from the center outward to form a bowl or cup.
- Coil Building
Roll out long coils of clay, then stack and blend them to form larger vessels. Great for building up walls slowly.
- Slab Building
Roll clay into flat sheets and cut into shapes, then score and join pieces to form geometric structures or boxes.
- Score and Slip Joining
Use a needle tool to score edges and apply slip (clay and water mixture) to bond pieces securely.
- Drape Molding
Drape a slab of clay over a mold (like a bowl or hump) to form shallow dishes or platters.
- Hump Molding
Opposite of drape molding, lay the slab inside a mold or bowl to shape a concave form.
- Imprinting
Imprinting is all about pressing textures or objects into soft clay to create patterns, shapes, or surface designs. You can use natural materials like leaves and shells, or everyday items like buttons, lace, or textured fabric
Wheel throwing pottery techniques

Wheel throwing might seem tricky at first, but once you get the basics down, it opens up all kinds of possibilities for smooth, symmetrical forms. Having someone nearby to adjust your technique or answer questions is a great way to get started. These beginner-friendly techniques help you build confidence on the pottery wheel, starting with the basics of shaping and centering clay.
- Centering Clay
The first step in wheel throwing is using pressure to center the clay on the spinning wheel.
- Pulling Walls
Using your fingers to lift and thin the walls of your pot after opening the center.
- Throwing a Cylinder
One of the most essential shapes in wheel throwing—perfect for mugs, vases, and learning control.
- Throwing a Bowl
Focus on opening the base wider and pulling gently to shape a round, open form.
- Trimming on the Wheel
Once your piece is leather-hard, trim excess clay from the base for a clean foot ring.
Surface decoration techniques

Once you’ve crafted your ceramic projects, it’s time to add some personality! These decorative techniques let you play with texture, line, and color before or after firing. Surface decoration is all about experimenting, and it helps to see examples in person. In a class setting, you can try out different textures and styles and get inspired by others.
- Sgraffito
Apply colored slip to leather-hard clay, then carve away to reveal designs in the contrasting clay beneath.
- Mishima (Inlay)
Incise lines into the clay and fill them with a contrasting slip or underglaze.
- Stamping
Use found objects or handmade stamps to press designs into clay while it's soft.
- Texturing with Tools
Create textures using brushes, forks, lace, or natural materials like leaves or shells.
- Carving (Incising and Relief)
Cut into the clay’s surface to create designs or build up areas for a raised effect.

 Runs regularly
 Chinatown
 1 to 10 guests
 $65


 5 years in business


Finishing and glazing techniques
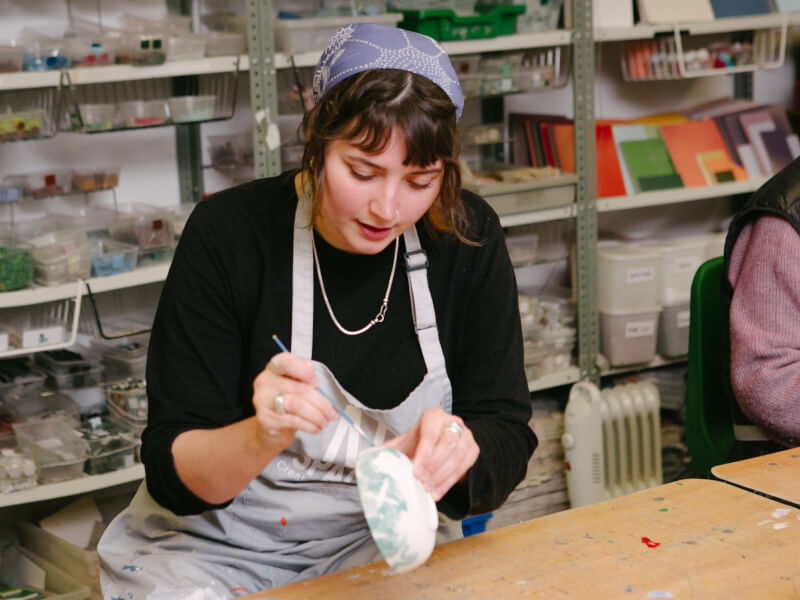
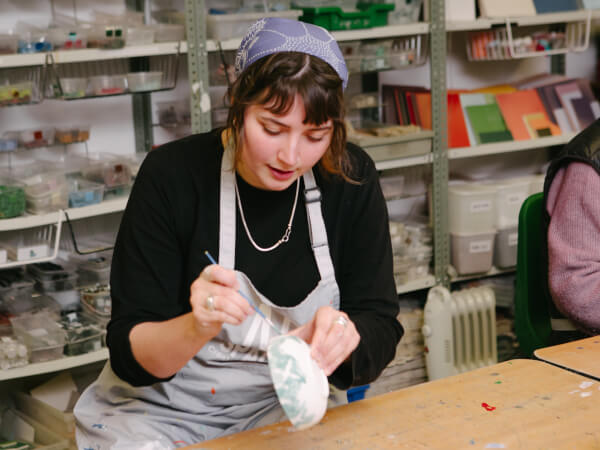
Once your piece is dry and fired, ceramic painting and glazing techniques bring it to life. These techniques help you seal your pottery, adding color, shine, or texture. Seeing how different glazes look in real life, and getting tips from someone experienced, can help things click.
- Underglazing
Underglazing is a way to decorate your pottery before it’s glazed and fired. You use special paints (called underglazes) to add color or patterns to the surface. Once your design is finished, a clear glaze goes on top to make it shiny and durable after firing.
- Burnishing
Polish leather-hard clay with a smooth stone or spoon to create a natural shine without glaze.
- Bisque Firing
The first firing of your pottery removes moisture and hardens the clay before glazing.
- Ceramic painting
Ceramic painting is a fun and easy way to add color to pottery. You paint directly onto a ready-made (bisque-fired) piece using brushes, stamps, or sponges, and then it gets glazed and fired to set the design.
- Dipping Glaze
Dip your piece into a bucket of glaze for an even coat. Best done after bisque firing.
- Brushing Glaze
Use a soft brush to apply glaze in layers, ideal for detailed or multicolored work.
- Stencils and Resist
Use stencils or special materials to block paint or glaze from certain areas, creating neat patterns without painting every detail.
- Raku Firing
A dramatic, fast-firing process where hot pots are removed from the kiln and placed in combustible materials, often producing crackled effects.
Pottery techniques from around the world
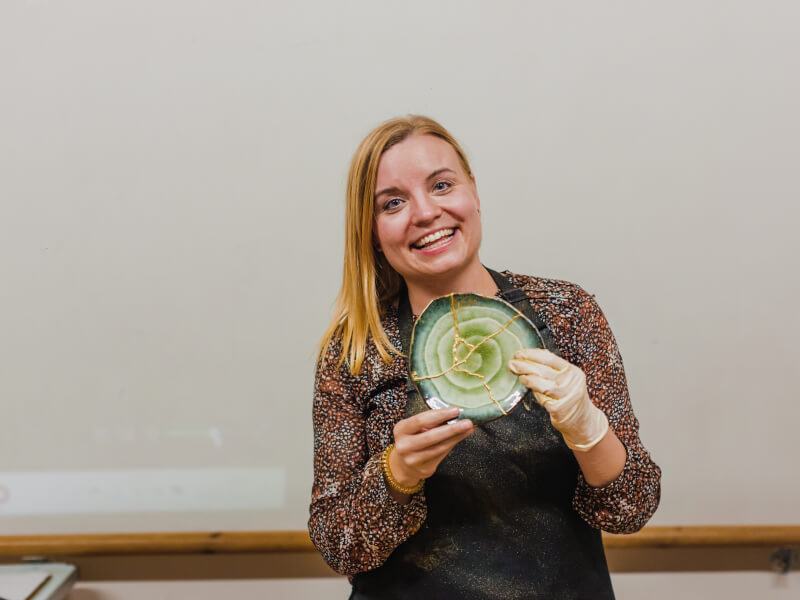
Beyond basic techniques, pottery has a rich history around the world. Exploring these styles can deepen your appreciation and inspire your own creative journey.
- Kintsugi
The beautiful Japanese art of repairing broken pottery with lacquer mixed with gold, silver, or platinum. Kintsugi teaches us to embrace flaws and celebrate imperfection in ceramics.
- Japanese Pottery
Known for its simplicity, natural textures, and elegant forms, Japanese pottery traditions like Mashiko or Bizen are wonderful sources of inspiration for handbuilders and wheel throwers alike.
- Ancient Greek Pottery
Famous for its painted storytelling and geometric patterns, learning about Greek pottery can inspire decorative approaches and introduce you to historical motifs.
- Chinese Porcelain
Renowned for its delicate, translucent quality and blue-and-white designs, Chinese porcelain offers a window into refined glazing and painting techniques.
- Delftware
Originating in the Netherlands, Delftware features blue hand-painted designs on white earthenware. It’s an approachable style for experimenting with underglaze painting.
- Nerikomi Pottery
A Japanese technique of mixing differently colored clays to create marbled, layered patterns throughout the clay body. It’s a playful way to add color and design directly into the clay.
Beginner pottery tips

- Be patient with yourself. Clay takes practice and doesn’t always behave the way you expect.
- Experiment often. Try combining techniques, like coiling with stamping, for unique results.
- Take notes. Document what clays and glazes you used so you can repeat (or avoid) results.
- Join a community. Local studios or online pottery groups are a great source of support and feedback.
Exploring different pottery techniques is one of the best ways to grow your skills and find your creative voice in clay. Whether you’re focused on form, surface, or both, the 31 techniques above offer a wide variety of entry points into this expressive art form.
Pinch, coil, throw, carve, and glaze your way into 2026. Who knows? You might just uncover your new favorite hobby.