 By Joe Hamway
In this story:
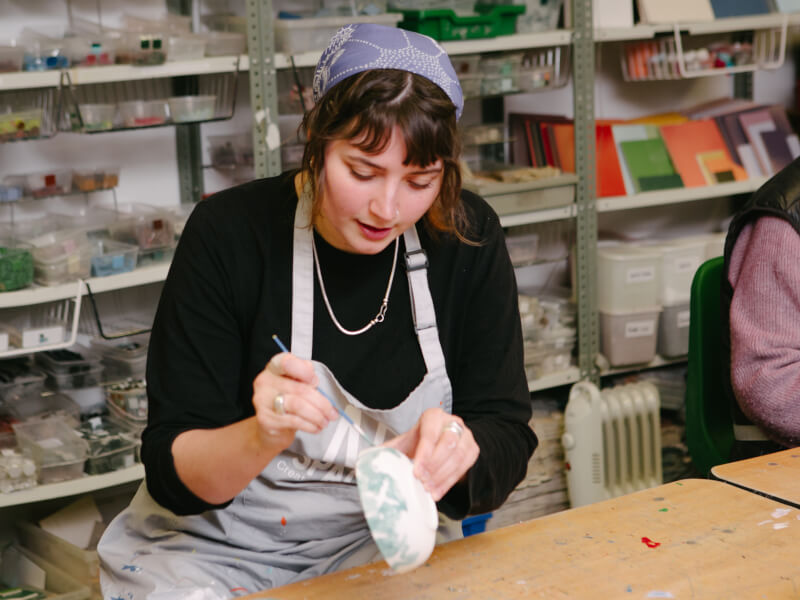
Ceramic glazing classes in NYC are the moment every new potter eventually reaches – the point where your shelves are full of bisque pieces from your six-week intro course, or maybe a few wobbly bowls from a one-time class – and you suddenly realize, “Oh… now I finally get to glaze these.” …and it’s finally time to get creative with colors. It’s a fun crossroads between pottery and painting! You can dive into the buzz of an open studio in Manhattan or Brooklyn, or you can turn your kitchen table into a tiny, personal glaze lab. With an encouraging instructor nearby, no syllabus telling you what to do – just you, your pots, and a whole world of color waiting in buckets and jars.
Glazing is the glow‑up phase of pottery. It’s where your pieces stop looking like chalky little ghosts and start looking like real ceramics. And whether you’re glazing in a warehouse studio in Queens or brushing underglaze at home while your favorite playlist hums in the background, this part of the journey is where you get to experiment, play, and find your style. These pottery glazing tips are here to make the whole process feel exciting instead of intimidating.
Getting your ceramic pieces to the studio
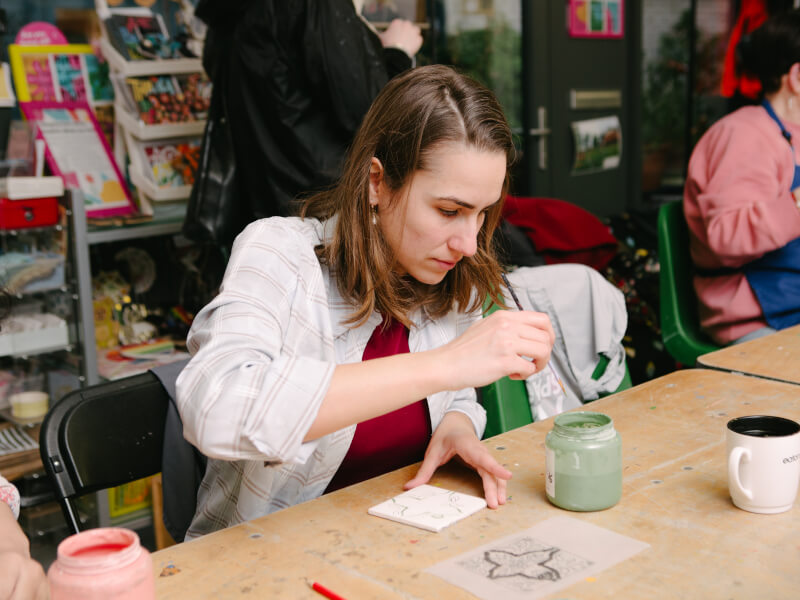
Transporting ceramics you may have spent eight weeks on – like those from this 8 Week Ceramics Course hosted by We Are Ceramics in Long Island City – across NYC is an art form! Bisque is fragile – it chips if you look at it wrong – so treat it like a newborn.
The subway‑safe method
Wrap each piece in a soft towel or scarf, nestle them in a sturdy tote bag, and keep the bag upright. If you’re traveling from Queens or Manhattan, try to avoid rush hour unless you want your mug to meet someone’s backpack!
The pottery foot check
This is the most important of all pottery glazing tips: leave the bottom quarter‑inch of your pot bare. No glaze. No underglaze. No slip. If the glaze touches the kiln shelf, your piece will fuse to it like a grilled cheese gone wrong. Studios will either charge you for the damage or banish your pot to the “Oops Shelf.”
Finding a kiln‑for‑hire
Many studios in Brooklyn, Manhattan, and Queens offer firing‑only services. You glaze at home, drop off your piece, and pick it up about a week later, after it’s been fired and ready. It’s perfect for independent potters who want freedom without investing in their own firing kiln for pottery.
Stepping into the glaze studio
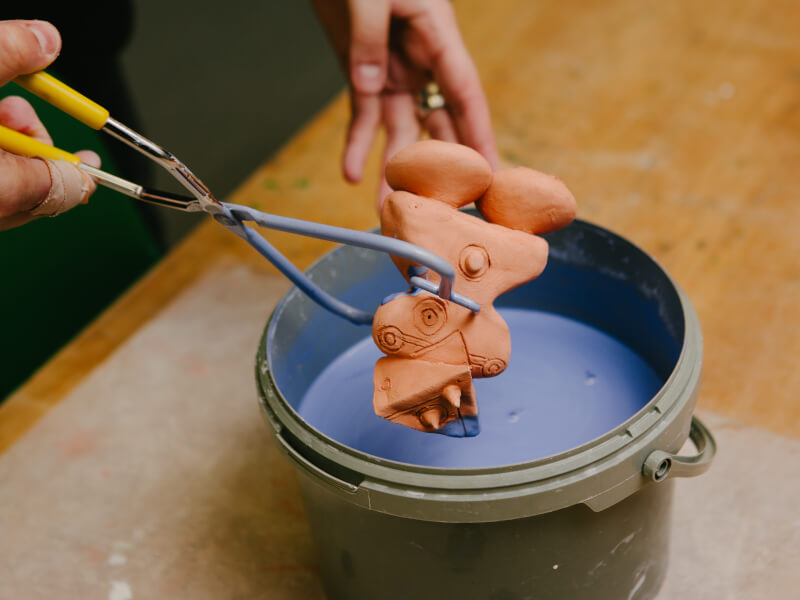
Open studio hours in New York City are a vibe all their own. You walk in and hear the soft clink of dipping tongs, the low hum of the fan, and the occasional “Ooh, what glaze combo is that?” from someone across the room. It’s social, it’s inspiring, and it’s the perfect place to learn how different types of pottery glazes behave.
Choosing your glaze color
Every studio in NYC – from Chelsea to Bushwick – has a “Test Tile Wall.” It’s basically the studio’s visual menu. Before you glaze, take a minute to browse. You’ll see how each ceramic glaze looks on different clays, how combos layer, and which colors break over texture. And don’t be shy – ask your neighbor what they’re using. Potters love sharing glaze gossip!
The glaze bucket stir
Every neighborhood studio has those giant five‑gallon buckets of glaze, and here’s the secret: the best part settles at the bottom. Before you dip anything, give the bucket a slow, bottom‑up stir. You’ll feel the minerals loosen, and the glaze will shift from watery to silky. That’s when you know it’s ready.
The three‑second glaze dip
This is the classic move. Hold your pot with tongs, dip it into the glaze, and count: One‑thousand‑one, one‑thousand‑two, one‑thousand‑three. Pull it out smoothly and let the excess drip off. Too fast and it’ll be patchy; too long and it’ll run in the kiln.
The kitchen‑table glaze lab
If you’re the kind of person who loves a quiet night in, glazing at home is a dream. No commute, no time limit, and your own music. You can spread out your tools, light a candle, and turn your apartment into a tiny creative sanctuary.

 4k followers
 Runs regularly
 Williamsburg
 1 to 7 guests
 $75


Underglaze is your best friend
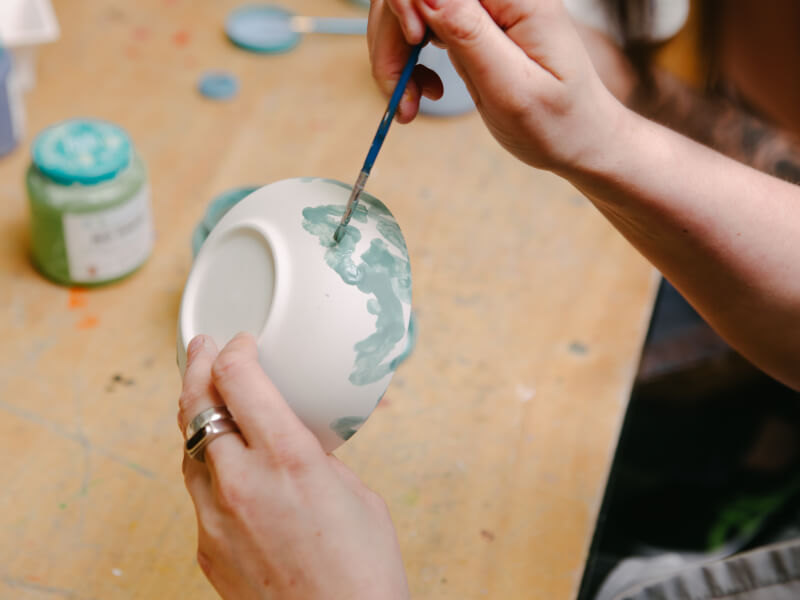
Underglaze is perfect for beginners because it behaves like paint. It doesn’t run, it doesn’t drip, and it’s totally manageable in a small space. You can paint patterns, doodle flowers, or try sgraffito – scratching designs into the surface to reveal the clay beneath. It’s relaxing, it’s clean, and it’s ideal for anyone who wants to learn pottery glazing without hauling buckets around.
The clear‑coat strategy
Here’s the trick: do all your detailed work at home, then take your piece to a studio for a quick, clear ceramic glaze dip and firing. The clear coat seals everything, makes the colors pop, and gives your piece that glossy, finished look. It’s the perfect hybrid workflow for New York City potters who want flexibility.
4 easy glaze techniques to try
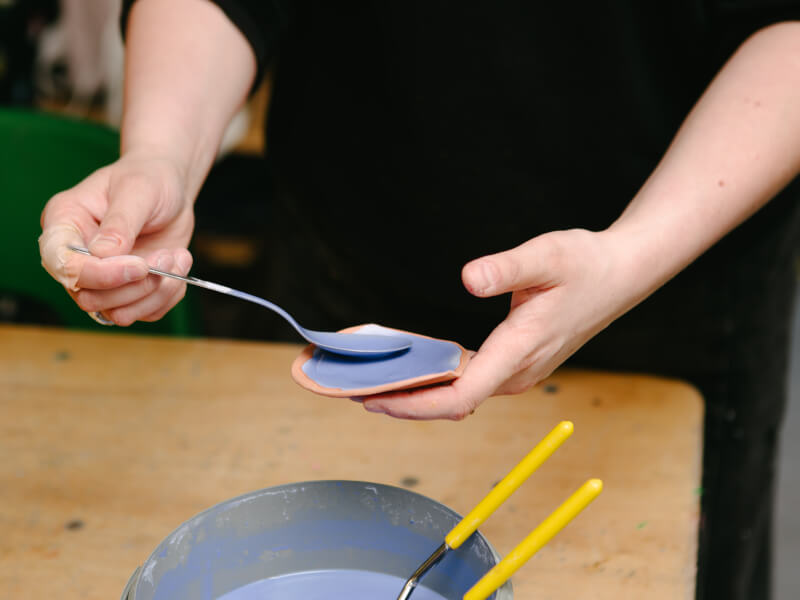
Glazing doesn’t have to be complicated. Some of the best effects come from simple glazing methods:
- The dip and layer: Dip your pot in one glaze, let it dry, then dip the top half in another. The overlap creates a gorgeous “sunset drip” effect that looks advanced but is secretly effortless.
- Sponge textures: A sea sponge dabbed lightly into the glaze creates a mottled, organic texture. It’s great for mugs, planters, and anything that needs a little visual depth.
- Bubble glaze: Mix the glaze with dish soap, blow bubbles into it with a straw, and let the bubbles pop onto your pot. It leaves a delicate, lace‑like pattern that looks like smoke trapped in glass.
- Wax resist glazing: Paint wax onto areas you want to stay unglazed before dipping. The wax resists the glaze, so after firing, you get crisp designs and contrast where the clay shows through.
After class, grab a coffee at your favorite neighborhood spot – maybe a classic Chelsea café or a Bushwick bakery – and jot down what glaze techniques you used. Write the glaze name, clay body, dip time, and any surprises. It’ll save you from the “Hmm… how did I make that perfect blue last time?” spiral.
The first‑timer’s NYC pottery studio kit
- A notebook for glaze combos you’d like to remember and recreate
- A clean sponge
- Your favorite “lock- in” playlist
- A sturdy tote or bag for transporting bisque
- A snack (glazing is hungry work)
And don’t forget the local ritual: after glazing, hit a neighborhood spot to decompress. Maybe a wine bar in Williamsburg, a bakery in Long Island City, or a cozy café in Manhattan. Let the glaze dry while you unwind!
Being a good pottery studio buddy
Studios here in the city, such as Pottery NYC, which offers a four-week Pottery Wheel Throwing Course, are shared spaces – and that community vibe is part of what makes them such a standout choice for NYC hobbies:
Don't be afraid to ask glaze combo questions
If someone’s using a gorgeous green, ask about it. Potters love talking glaze. The world of ceramic glaze colors basically has its own dictionary – from pale, translucent celadon greens and vivid cobalt blue to rich oxblood reds and verdant oribe greens that range from mossy to olive. There are smoky tenmoku browns, deep blues, radiant turquoises, matte blacks, and creamy off‑whites to explore, and seeing them on a test tile can spark ideas you’d never think of on your own. Every studio will have its favorites, and chatting with a neighbor about what they’re using can be the best way to pick a palette you’ll love!
Clean as you go
Wipe down the bucket rims, rinse your tongs, and leave the table better than you found it. It keeps the space welcoming for everyone.
Share your pottery painting wins
If your piece comes out amazing, show it off. If it comes out weird, show it off anyway. Pottery is full of happy accidents, and half the fun is sharing results.

Your ceramic glaze journey starts now
Glazing is where your pottery really comes alive! It’s colorful, experimental, and endlessly surprising. Whether you’re dipping mugs in a bustling Brooklyn studio or brushing underglaze at your kitchen table in Manhattan, these pottery glazing tips will help you find your rhythm and enjoy the process.
Your pots don’t need to be perfect – they really just need to be yours! Ready to see your creations in full color? The glaze room is your playground. Whether you’re at a studio in Brooklyn or Manhattan, these pottery glazing tips are your ticket to a successful solo session. Find your next open studio session in NYC or join a glazing masterclass to dive deeper into the magic!